Theme Footer
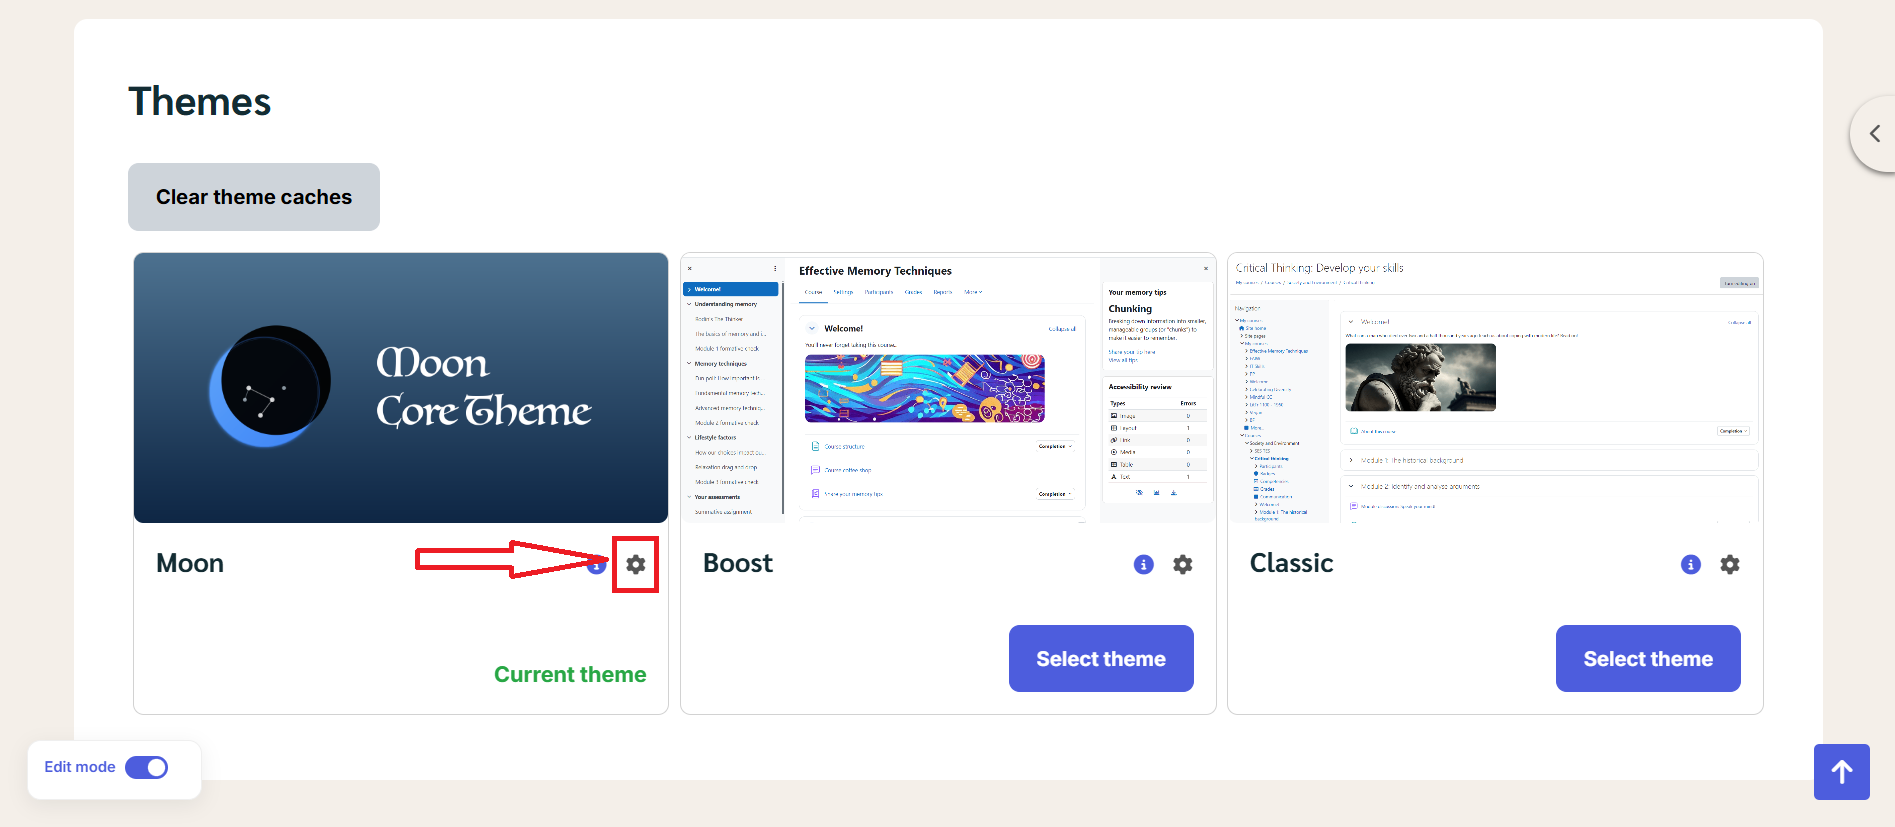
Please go to Site Administrator > Appearance > Themes > Edit the Moon theme's settings > Layout > Sub-Layout.
Theme Footer – Admin Manual
1. Overview
The theme footer is created using a Sub-Layout. This sub-layout is then inserted into the Main Layout, allowing you to reuse and manage the footer content easily.
You can:
- Edit footer content (text, links, images, phone number)
- Adjust column widths
- Add or remove footer sections
- Control how the footer appears on desktop, tablet, and mobile
2. Accessing the Footer Sub-Layout
- Go to Theme Settings or Layout Builder
- Open Sub Layouts
- Select the footer sub-layout (example: Footer Layout)
- Click Edit
You will now see the footer layout editor.
3. Understanding the Footer Structure
3.1 Sections
The footer is divided into sections (labeled as Astroid Section).
Each section can contain:
- One or more rows
- Multiple content blocks (text, image, links, etc.)
You can:
- ✏ Edit a section
- 🗑 Delete a section
- ➕ Add a new section
3.2 Rows and Columns
Inside each section:
- Content is arranged in columns
- Column width is controlled by dropdowns like
col-lg-2,col-lg-4,col-lg-6
Example:
col-lg-2= small columncol-lg-4= medium columncol-lg-6= half width
👉 Column sizes affect desktop view. Tablet and mobile views auto-adjust.
4. Footer Content Blocks
Each box inside a column is a content block.
Common footer blocks include:
- About Us – Text description
- Links – Menu or quick links
- Support – Help or contact info
- Follow Us – Social media links
- Image – Logo or footer image
- Phone Number – Contact phone
- Text – Custom text content
5. Editing Footer Content
- Click on a content block (e.g. About Us)
- Update the text, image, or links
- Click Save when finished
Changes apply instantly after saving.
6. Adding New Content
Add a new content block
- Click the ➕ (Plus) icon inside a column
- Choose the content type (Text, Image, Links, etc.)
Add a new row
- Click + New Row
Add a new section
- Click + New Section
7. Device Preview
At the top of the editor, you can switch between:
- 🖥 Desktop
- 💻 Laptop
- 📱 Tablet
- 📱 Mobile
Use these to ensure the footer looks good on all devices.
8. Saving Your Changes
At the bottom of the screen:
- Save – Save changes and continue editing
- Save & Close – Save and exit
- Cancel – Discard changes
⚠️ Always click Save before leaving the page.
9. How the Footer Appears on the Website
- The footer sub-layout is linked to the main layout
- Any changes you make here will automatically update the website footer
- No additional setup is required