Logo and favicon
Overview
This section allows administrators to upload and manage the visual branding assets of the site, including the Main Logo, Compact Logo, and Favicon. These images are used across the site interface and browser tabs to ensure consistent branding.
You can access this page from: Site administration → Appearance → Logos
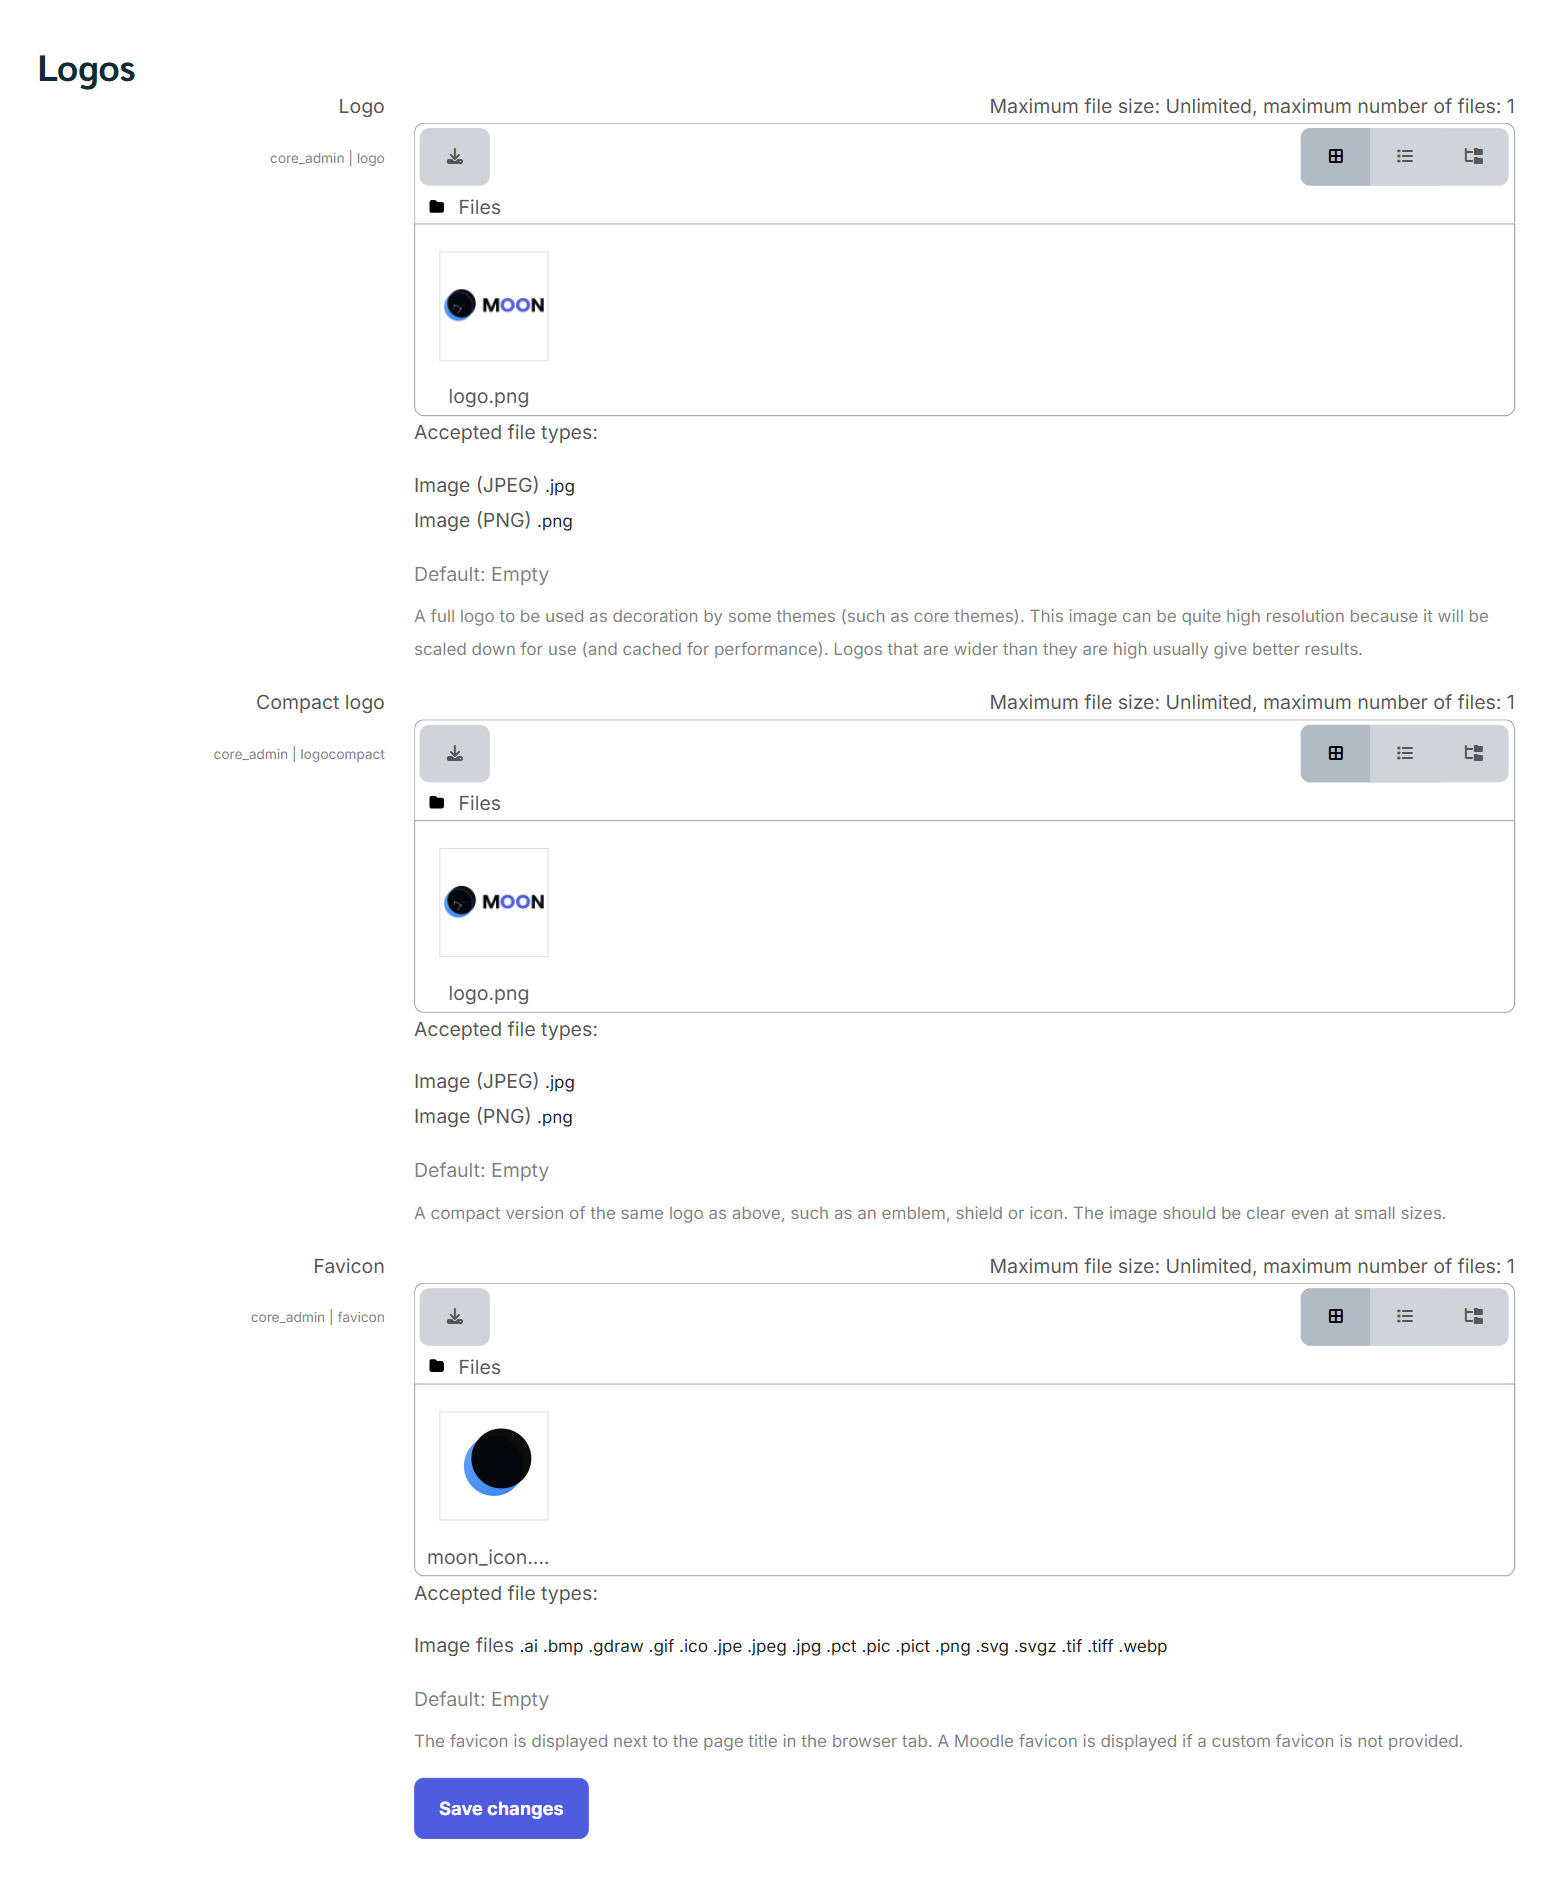
1. Logo (Main Logo)
Purpose
The Main Logo is the full-size logo used as a decorative branding element by themes (especially core themes). It is typically displayed in headers, login pages, or landing pages.
Field Information
-
Setting name:
core_admin | logo -
Accepted file types:
- JPG (
.jpg) - PNG (
.png)
- JPG (
-
Maximum file size: Unlimited
-
Maximum number of files: 1
-
Default value: Empty
Recommendations
- Use a high-resolution image; the system will automatically scale it down and cache it for performance.
- Logos that are wider than they are tall usually display better.
- Prefer PNG format if transparency is required.
How to Upload
- Click the Download/Upload icon in the Logo file area.
- Upload or select an image from the file picker.
- Confirm the selection.
2. Compact Logo
Purpose
The Compact Logo is a simplified version of the main logo. It is used in areas with limited space, such as collapsed navigation bars or mobile views.
Field Information
-
Setting name:
core_admin | logocompact -
Accepted file types:
- JPG (
.jpg) - PNG (
.png)
- JPG (
-
Maximum file size: Unlimited
-
Maximum number of files: 1
-
Default value: Empty
Recommendations
- Use an icon, emblem, or symbol-only version of your logo.
- Ensure the logo remains clear and recognizable at small sizes.
- Avoid long text or detailed graphics.
How to Upload
- Click the Upload icon in the Compact Logo section.
- Choose or upload the image file.
- Save the selection.
3. Favicon
Purpose
The Favicon appears in the browser tab next to the page title. It helps users quickly identify the site when multiple tabs are open.
Field Information
-
Setting name:
core_admin | favicon -
Accepted file types:
.ai,.bmp,.gif,.ico,.jpeg,.jpg,.pct,.pic,.png,.svg,.svgz,.tif,.tiff,.webp
-
Maximum file size: Unlimited
-
Maximum number of files: 1
-
Default value: Empty (Moodle default favicon is used if none is provided)
Recommendations
- Use a square image (commonly 16×16, 32×32, or 48×48 pixels).
- Keep the design simple and high-contrast.
.icoand.pngformats are most commonly used.
How to Upload
- Click the Upload icon in the Favicon section.
- Select the favicon image.
- Confirm the upload.
4. Saving Changes
After uploading or changing any logo:
- Scroll to the bottom of the page.
- Click Save changes.
- Refresh the site (and browser cache if needed) to see the updates.
Notes & Best Practices
-
Always test logo visibility on desktop and mobile devices.
-
If logos do not update immediately, clear the theme cache:
- Site administration → Development → Purge caches
-
Use consistent branding across all three assets for a professional look.
Troubleshooting
Logo not displaying correctly
- Check image dimensions and aspect ratio.
- Ensure the file type is supported.
- Clear browser and Moodle caches.
Favicon not updating
- Browsers often cache favicons aggressively.
- Try a hard refresh or open the site in an incognito window.